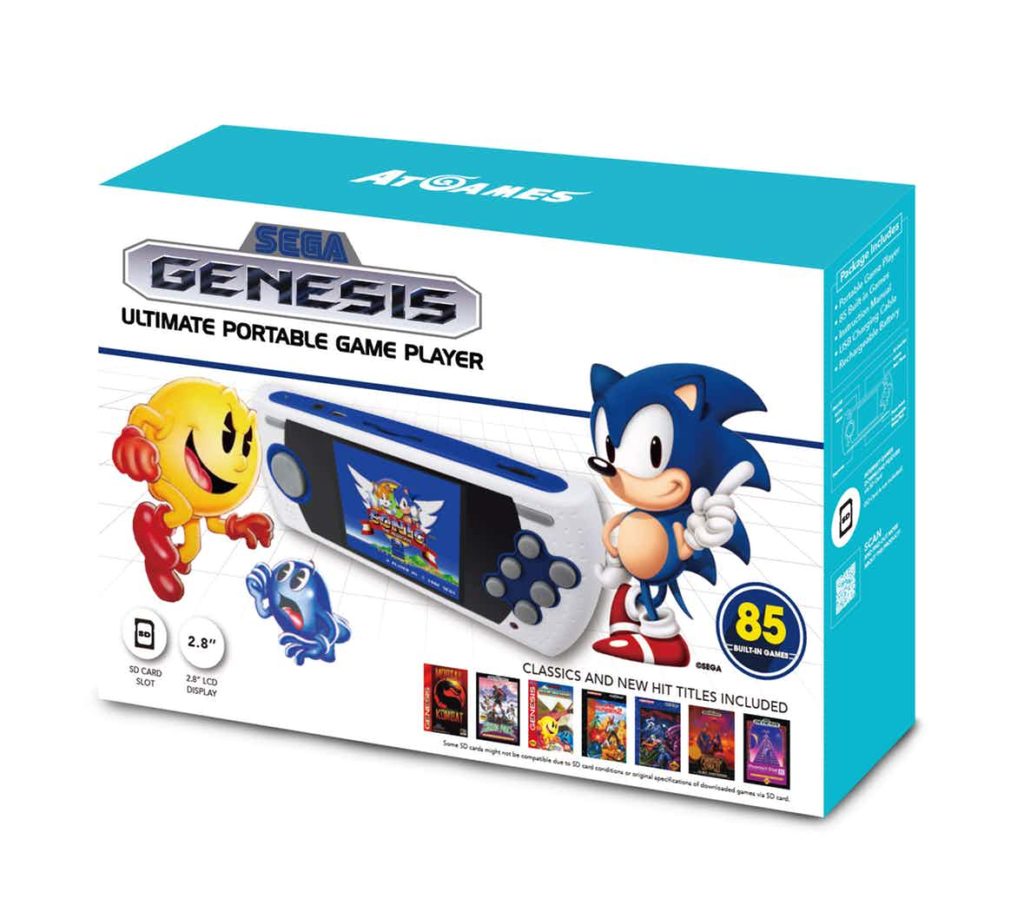
We all love Sega games no matter how old we are. So in the following guide, we will tell you how to get games on Sega Genesis portable.
You may also like: 11 Best Portable Gaming Monitors for PS, Xbox, and More
1 Get yourself a memory card
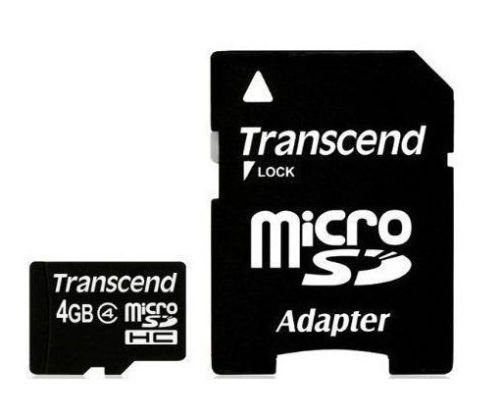
The first step you have to do is to find a suitable memory card. If you are going to use a MicroSD card it will do if you use an adapter. You can also opt for SDHC cards. MicroSD is usually an option that holds more memory than SDHC. There may be problems connected with incompatibility issues, so it’s better to use an SDHC card for 4 GB or lower to avoid any possible lugs.
2 Download all the necessary software to your computer
Many different websites are offering downloading RAR packages with the necessary content.
3 Extract the files from the package
Once you have downloaded the package, choose the “Show in folder” option, open the package and copy the folder that lies inside the desktop of your computer.
4 Install a formatting program
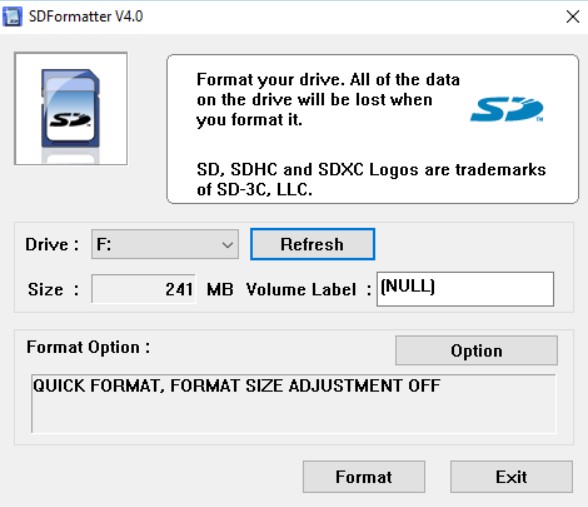
To get games from the PC to the memory card we should have a formatting program on our PC. The thing is the Windows system doesn’t always work well with the memory card of the type, so it’s better to make sure that it will do this time.
You can use one that is already in the package we downloaded earlier. Open the folder you dragged from the desktop and choose SD Card Formatter Setup. Follow all the instructions to install this software on the computer.
At the end of the installation process, the program will create a shortcut on the screen. Put a tick on the Launch the program option and press Finish to end the installation.
You may also like: 9 Best Portable XM Radios (Comparison & Reviews)
5 Select the right card in the program
You don’t have to change any settings in the program we have just installed, everything is already set. Now choose the SD card you put into your computer from the menu. Press the format and wait until the formatting process is finished.
6 Find your formatted SD card in the file system
After the formatting process, your SD card will be presented as a separate drive so you can find it through file explorer or use a general search system and type the name of the card. You can also change it during the formatting itself, just remember the name you have given to the card to find it later.
7 Transfer the GAME folder to the formatted SD card
Return to the folder we have downloaded from the Internet. There you will have a GAME folder that you have to transfer to your SD card.
8 Test out the games
In the GAME folder, you will have some standard games already downloaded. Now you can extract your SD card from the computer and insert it into your SEGA Genesis Portable to see if everything works properly.
9 Find the Games in SEGA Genesis Portable
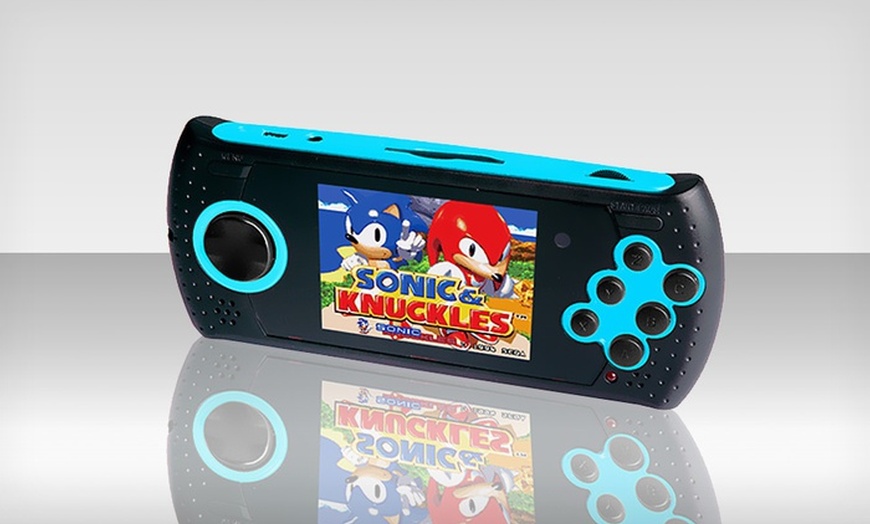
Once you have inserted your SD card into your SEGA, turn it on and navigate to page 9 through the main menu. Press Start and wait until the games are loaded. Choose one of them and start playing. If something goes wrong and your SEGA can’t detect your SD card, it is probably connected to the incompatibility issues and you will have to repeat all the steps using some other SD card.
10 Stick to the format
After you have found an SD card that works perfectly well with your device, you probably will want to download many other games from the Internet. You have to simply download them to your PC and then transfer them to your SC card. However, not all formats will go with SEGA Genesis Portable. It’s better to stick to BIN format instead of GEN or, for example, SMD. Their formats work sometimes too, but if they don’t, you will need to convert them.
11 Convert the formats
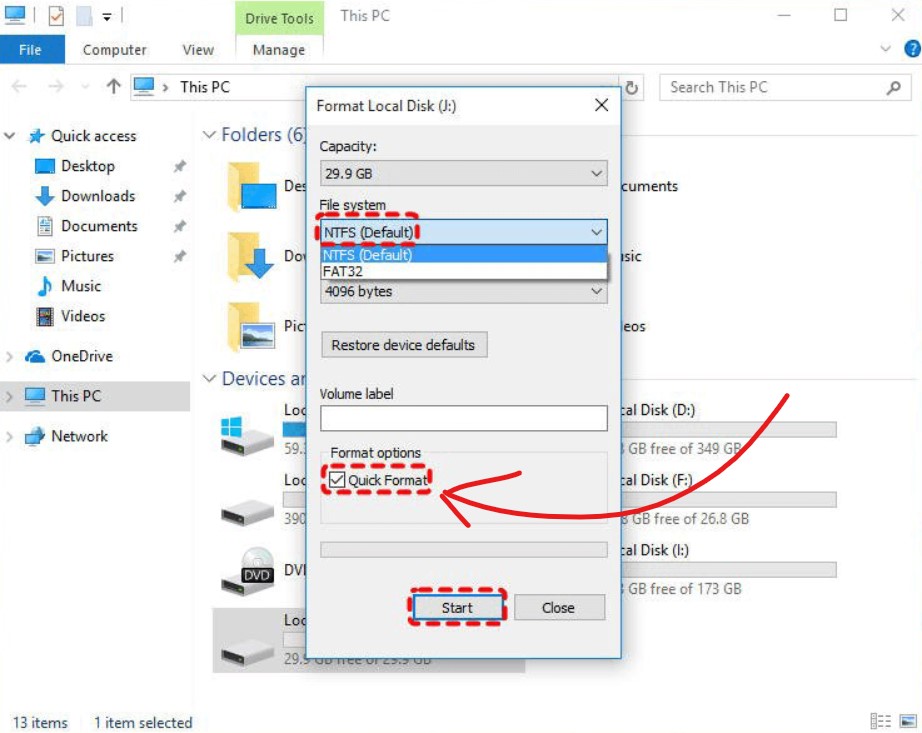
Some people say that it’s necessary just to rename the file and change its format in the name and everything will work out. It does from time to time, but it’s better to use a special converting program, for example, SBWin. You will have to find it in the folder from the beginning of the guide and install it on your computer.
You may also like: 9 Best Multi-Game Tables
12 Use a special program
To start the converting process you will have to add the file you want to convert. To do so, press the plus button under the File option in the main menu of SBWin. Then make sure you choose to convert to BIN and choose the path where the program will save the converted game. Choose the card we have already formatted. Then hit a small play button near the plus button, and SBWin will automatically save the new game format on the SD card.
13 Set a Picture of your game in the main menu
Most of the games you download from the Internet don’t show any image in the main menu as those that are original do. To make them also show the picture you can use a special software called MDB edit. There’s no need to install it, you can open it right from the folder we downloaded earlier.
To set the picture, copy the name of your game. Sometimes the program doesn’t work with file names with special characters in them, so just rename the file if something like that happens. Add the game to the program by pasting the name into a special white field.
You may also like: 13 Best Portable External Hard Drives (Comparison & Reviews)
Find the image you want to see in the main menu, download it and set it to the game using the Set Picture button. However, before doing it you will have to resize the pictures. The size should be 120 to 112. You can edit the size via Paint. Save the picture with 16 color bitmap format.
F.A.Q. about the Sega Genesis Portable
What operating system does the Sega GENESIS Portable use?
It uses its own operating system that has the same name.
How do I clean my Sega?
You can use a slightly damp cloth with a pinch of a cleaning detergent. The best way to remove the dust from the Sega is by using compressed air.
What is the screen size of the Sega GENESIS Portable?
The size of the screen of the device s 2’8 inches.
Can I find the manuals for the Sega Genesis in English?
Yes, there are manuals in English for Sega Genesis on the Internet.