Though it might be not the easiest task in the world, in the article down below we tried to provide the detailed explanation of how to vent portable AC in RV.
You may also like: 4 Portable Marine Air Conditioners (Comparison & Reviews)
1. Find the optimum position for the transportable climate control system.

Some people have removed a washbasin and placed the system where the basin’s tubes were initially located. The place where you place your transportable ventilator will affect every stage of this process.
Also, you will have to get about 6-8 inches of free space between the wall of your vehicle and a conditioner.
2. Once you have placed the device into the correct position, take good measurements and perform accurate calculations.
Not all devices of this kind are big or small enough to fit in. If you have chosen an open-air place where there are no restrictions, then you can skip this stage.
3. Go to the shop.
You will have to find a device that will not only be the right shape for the place you have chosen but will also be able to ventilate heated air and eliminate excessive humidity in the air.
The position you choose should be appropriate to accomplish both these goals.
You may also like: 4 Best Portable Dual Hose Air Conditioners (Comparison & Reviews)
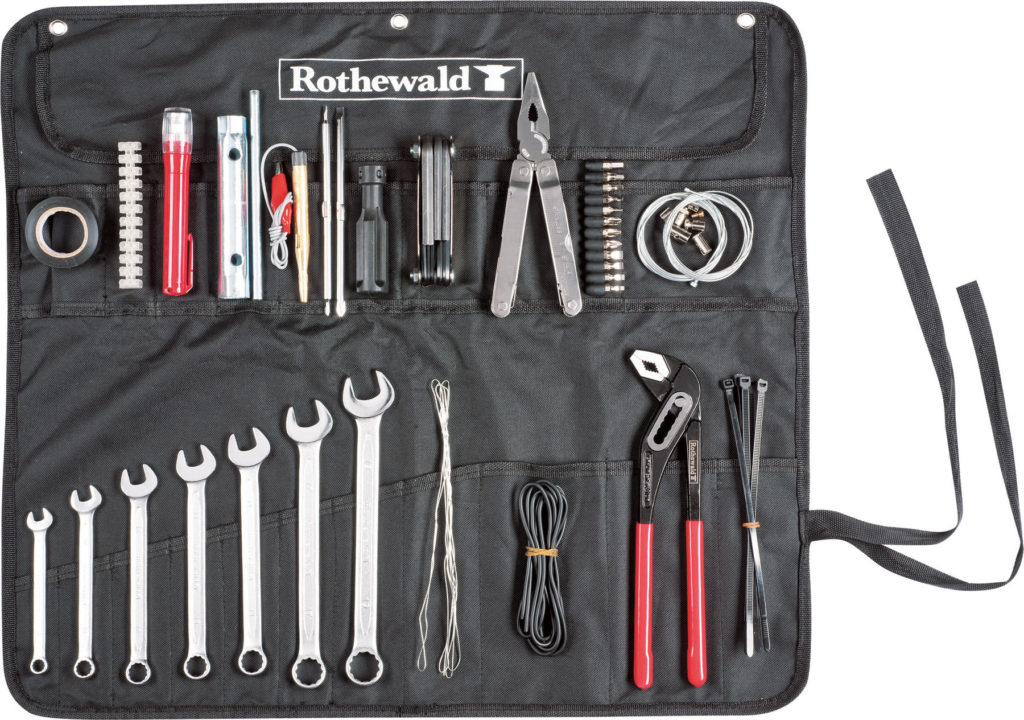
4. Get all the instruments together
Once you have bought the air conditioning device that is suitable for you, gather the instruments you will use. The choice of the instruments is determined by the type of device you will be installing and its location.
You may ask the vehicle’s manufacturer to provide you with a handbook as there are many hidden details, tubes, and cables, and you do not want to sever or mess up any of those invisible parts. Usually, the handbook will provide instructions on what type of climate control system works better and it will also help you identify companies with products of high quality.
You will also have to get graffer’s tape, a screwdriver to seal all the open spaces, a pair of rubber gloves, a knife, a cable cutter, as well as the handbook describing the conditioner you have bought.
5. Switch off the electricity
After you have collected all the needed instruments and details, you can proceed to the following stage: switching off the electricity. Do not forget to do it, as you will be dealing with open cables under voltage and you might accidentally get an electrical injury. Do not underestimate the importance of this stage.
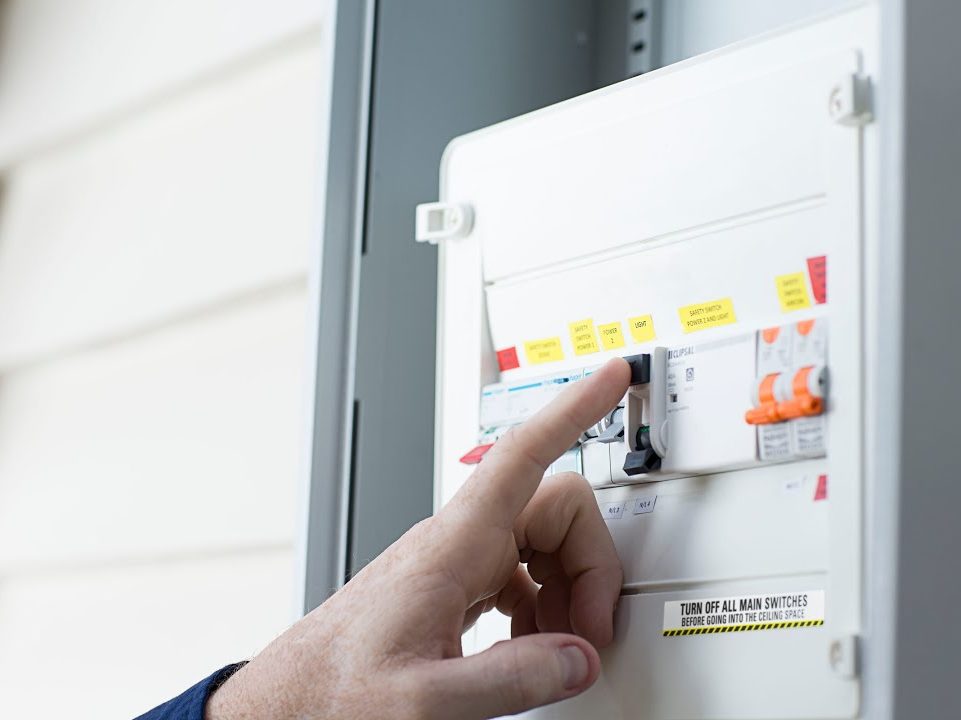
What you will also have to do is connect to the power supply the instruments you are going to use if they work on electricity. Since you can’t connect them to the vehicle, as it should be turned off, use extension cords to bring power to your instruments directly from your home or any other stationary power source.
6. Identify the appropriate position
If you have already had a ventilating device in your vehicle, then you can skip this stage, but in case you have never had one before, then the following stage is obligatory. You will need to identify the best position to place your climate control system.
Regarding this stage, you must choose a surface that can hold the device without breaking any part of the vehicle. There should also be about 8-9 inches of free space between the device and the edge of the roof or wall, depending on where you are going to locate it.
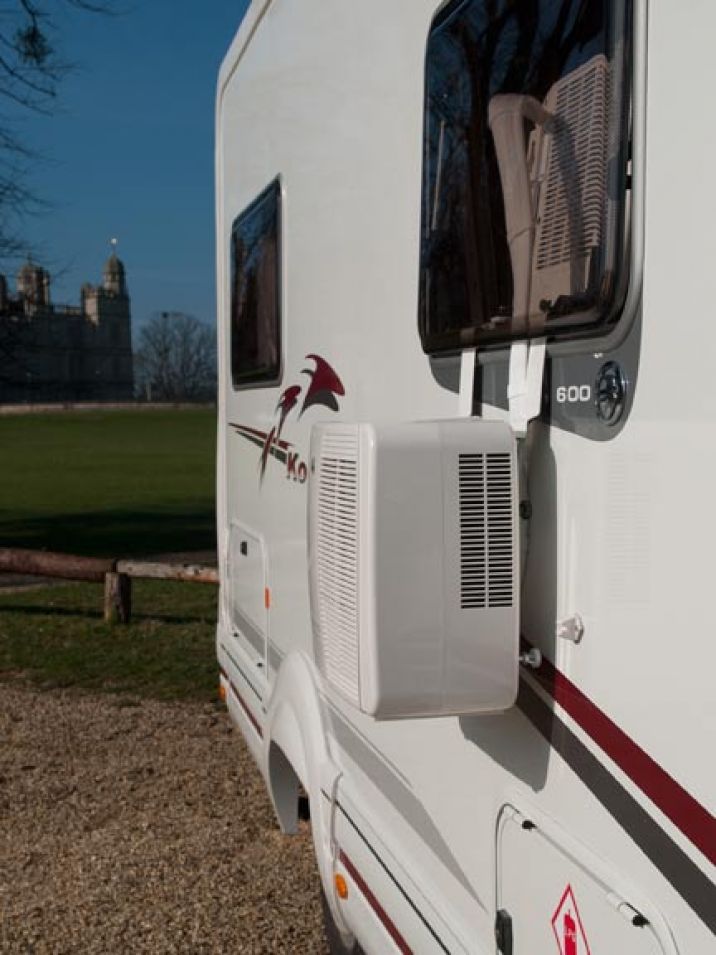
The space is needed since there may come up a necessity to get on top of the vehicle’s roof to fix something if there are any problems. It is also very useful to leave this space as it will make the ventilating system more stable and less likely to loosen or fall off over time passes.
You may also like: 13 Best Portable Air Ionizers
7. Make a scheme on the surface
You already have all the measurements and calculations, now it’s time to make an accurate layout where you will have all the holes and other details marked. The holes have to be tight and smaller than the bolts for safety reasons.
8. Identify the appropriate direction for the vents
The air that will be ventilated by the conditioning system will blow somewhere, so it’s better to think in advance whether air streams don’t damage any parts of the vehicle.
9. Attach the ventilating system to the surface by screwing the bolts
After you have made the holes of the right size, it is time to fix the outer part of the Conditioner on the roof or the wall. To do so, you have to carefully place your device on the roof or the wall and attach it to the surface with proper bolts. The position of the bolts should be similar to that of the marks you made earlier. Once you are done, proceed to attach the interior part of the system, repeating all the steps.
10. Get your vent lines fixed so that they do not interrupt your driving
The vents are very important since any moving object can cause unwanted destruction and problems. To protect them, you can screw in some frames made either of wood or metal.
To ensure additional safety you can install a special screen to block any flying objects and prevent them from getting inside. Screens can be installed both inside the vent itself or near the whole system.

11. Fill gaps with sealant
Now that the conditioning system is placed in the right position, you can proceed to seal all the gaps. Put sealant on the empty spaces where the ventilating system itself meets the surface of the vehicle. By doing so, you will secure your device as well as protect it from wearing with time and from unsuitable weather conditions.
12. Cable connections
Now the device is up in its place, but you still have to perform the cable connections, to make the vetting system work. The Conditioner should come with a manual telling which cables should be connected. They are usually coded by their color, so it should not be that difficult to get the right matches. That means that the black cable meets another black one, red to red, and so on until they are all together.
13. Switch on the electricity
When you are done, turn the electricity back on, plug your device in and switch it on. You will have to check all the work you have done one more time to make sure you sealed every space and that the system vents the air properly.
You may also like: 11 Best Portable Air Purifiers for Smokers (Comparison & Reviews)
14. Cleaning up
If there’s nothing to worry about, tidy up your instruments and put everything away. Now you can enjoy chilly air right in your vehicle.