Installing and getting run a portable generator is not the easiest task around. Moreover, without the proper attention to the details it can be dangerous. That’s why in the following guide we are going to tell you about an essential part of this process – how to connect portable generator to electrical panel.
You may also like: 10 Best Portable Hand-Crank Generators (Comparison & Reviews)
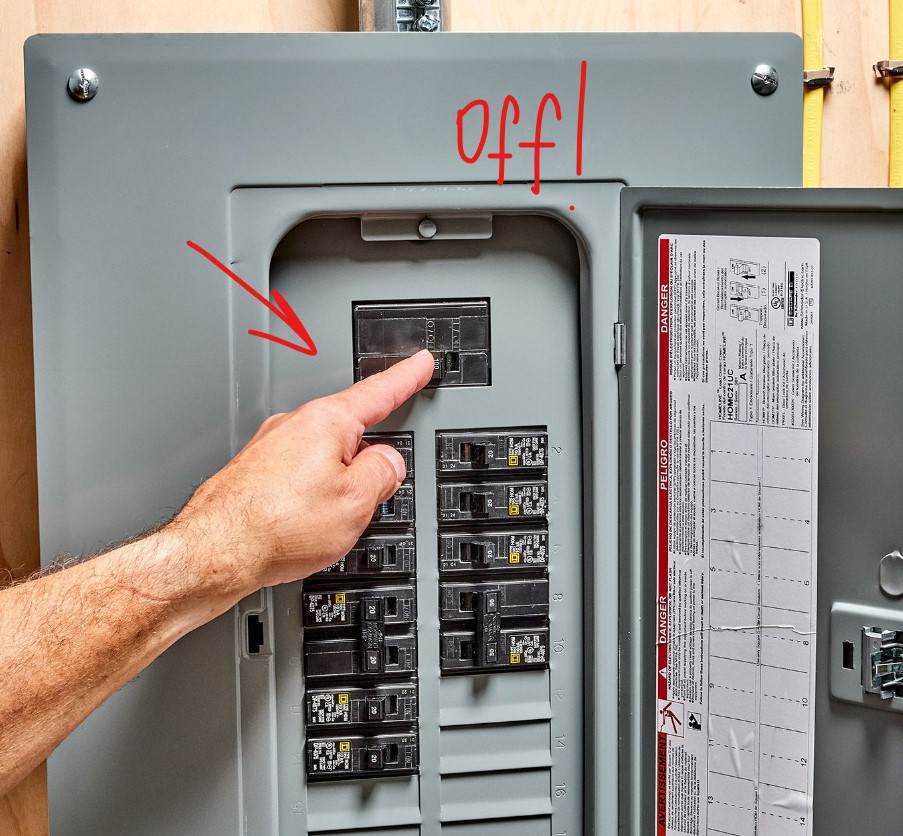
1) To shut down the main electrical panel
Everything connected with electrical devices connection always requires switching off all the devices that are connected to your electrical circuit. After you have turned them off, you have to shut down the main breaker panel. Now you can be sure that no damage will be done to your gadgets and that there’s no possibility of electric shock.
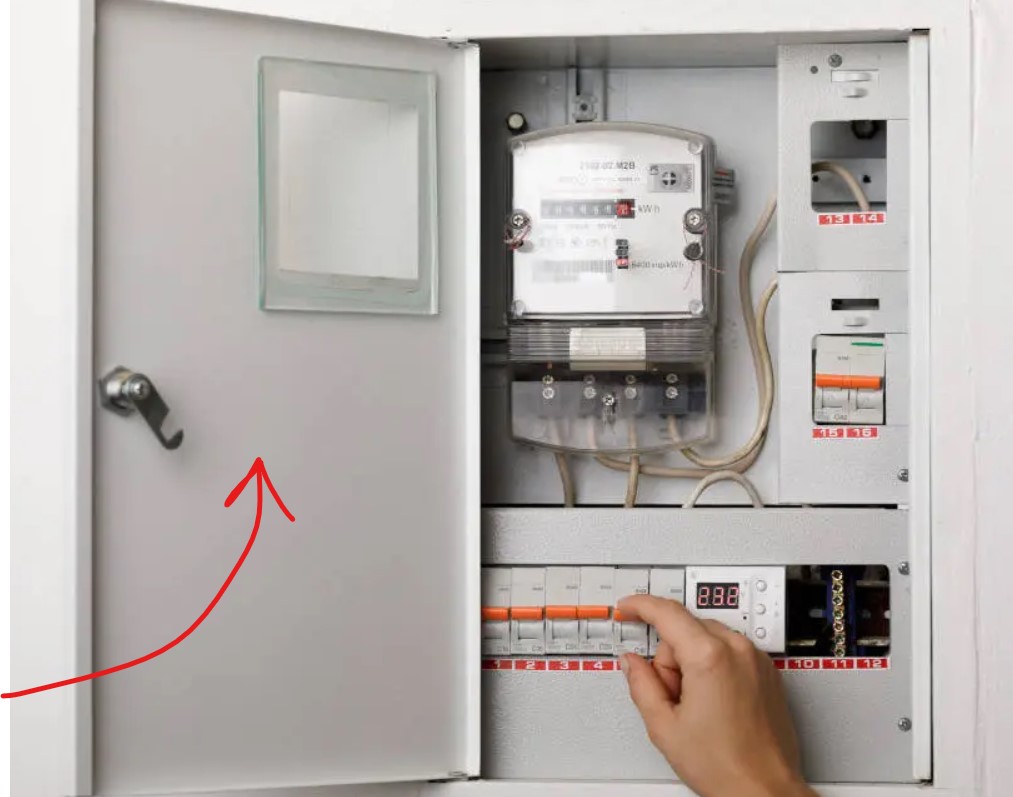
2) To get out the panel cover
Once you are sure that there’s no chance of the panel to be still plugged, you can carefully take the panel cover away. To do so you will only need a screwdriver to unscrew all the bolts that hold it.
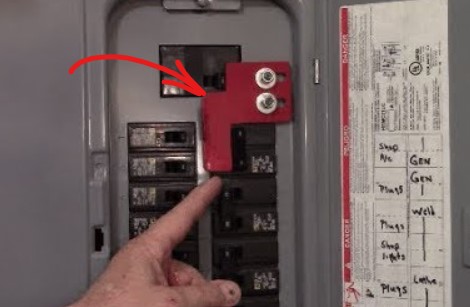
3) To install the Interlock Kit to the Panel
The Interlock Kit is a device designed specially to provide your house with power during an outage. Its main advantage is that it allows you to transmit power from the portable generator to any circuit within the panel, meaning that the number of circuits is unlimited. Interlock Kit makes it possible to add an external interlock to the breaker.
You may also like: 9 Best Portable Generators for Camping (Comparison & Reviews)
To install your interlock kit on the panel you will have to make installation holes using an electric drill. Then all you have to do is to secure the kit by putting in the bolts.
Mind that you will probably need to have some additional space on the cover so that the new Interlock Kit could fit in, so make sure you remove excessive tabs to create a new slot.
4) To install the Power Inlet Box
To connect the wires of the main breaker to the portable generator, you will need a power inlet box. It’s a good option to install it near the panel and mount it on the wall by drilling some holes and fixing it with the bolts.
If the box is going to be installed outside, it’s better to use additional wire protection to make sure everything is safe.
5) To wire the connections
Now, after you have installed the Power Inlet Box, you will have to get the wire from it to the panel breaker through the conduit. The wiring of the power inlet is usually red and black for the hot wires, white for the neutral ones, and green for the ground wire. If you have struggled at this stage, you can use a power inlet wiring scheme to make sure you do everything right.
Remember that if the power inlet box is made of a metal frame, you have to attach the ground wire to the body of the box.
6) To install the Circuit Breaker
The next step is to connect the ground wire to the ground bus bar and the neutral wire to the neutral bus bar. Then you have to connect two hot wires to the circuit breaker to achieve the generator circuit connection and then install the breaker itself on the panel board.
7) To get the Cover Panel back
After you have comleted all the steps successfully, you can install the cover panel back.
You may also like: 9 Best Portable Diesel Generators (Comparison & Reviews)
8) To test if everything works out
Now it’s time to see if everything was done correctly. You have to connect the power inlet with your generator set using the power cord and the extension one. Then turn on the generator itself and turn on the circuit breaker you have installed to allow electricity transmission.
Once you have connected the generator set, you can see how many circuits can run simultaneously with the energy produced by the set. Not that turning on every circuit in your home shortly after you have started your generator maybe not be the best option for the generator. It’s better to wait five minutes to allow it to set load ready for feeding the home
Alternative option: connecting a portable generator to the electric panel with a Transfer Switch
We have already discussed the advantages of using an Interlock Kit, but there’s also another option, though more expensive – a Transfer Switch you can use on stage 3.
A transfer switch is a circuit breaker that allows you to draw electricity from the generator but not from the power company. So it is the device that switched power sources, while an Interlock is a metallic panel that is moved from the main power breaker to the generator breaker and back and ensures that they both can’t be turned at the same time.
You may also like: 9 Top Quiet Portable Generators (Comparison & Reviews)
To choose wisely between using an Interlock or a transfer switch it’s better to consult a professional since many factors affect the decision, including price, generator size, electrical load, the characteristics of outages, etc.