You might never think of it, but the things like fans also need cleaning. Moreover, if it’s been stored somewhere in your garage for months, then you definitely need to clean it before usage. In this article, we will tell you how to clean a portable fan.
You may also like: 13 Best Portable Neck Fans (Comparison & Reviews)
How to clean the fan with the casing removal
Step 1. Open the casing of the fan


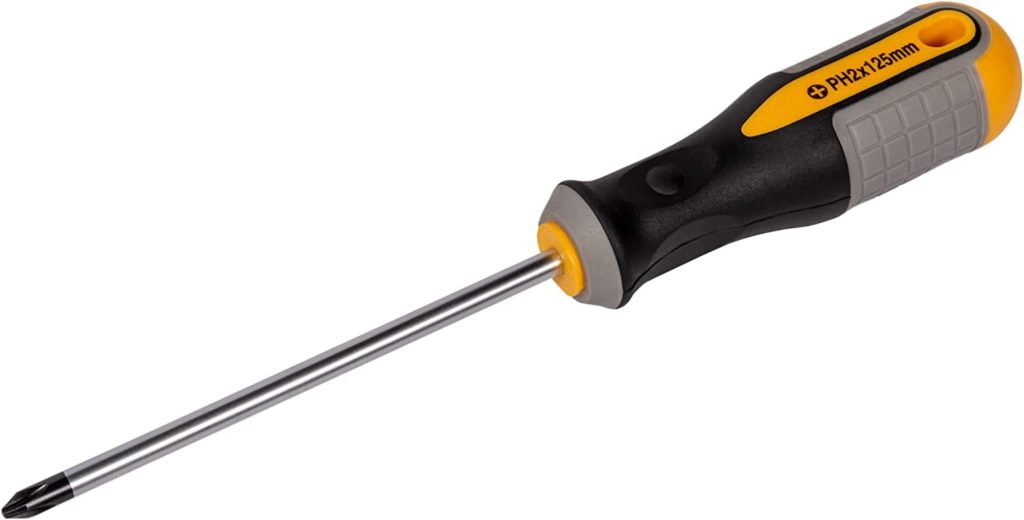
Depending on the model of the fan you have, you need to first open the protective cover. You will need a screwdriver for that. If the casing is fixed with screws, you will have to remove them. If you see no screws, then you need to poke the screwdriver through the fan and tilt it so the casing gets detached from the fan.
Step 2. Wash the casing in the water and then dry it off with the cloth.
Depending on the size of your fan you might also need an external cleaning.
Step 3. Use the cloth and the glass cleaner to clean the inside part of the fan. DO NOT USE WATER!
You may also like: 9 Best Multi-Game Tables
Step 4. Make sure all the parts are dry and place the casing back into the fan.
This method of cleaning should be suitable for the majority of portable fans.

How to clean a portable fan without removing the casing
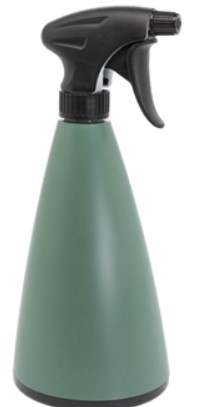
Step 1. Take the sprayer.
Add soup or another detergent. Add some water and then some vinegar. Shake the sprayer.
Step 2. Spray the mixture onto the fan.
Step 3. Cover the fan with a big plastic bag.
You may also like: 9 Best Portable Garden Sheds (Comparison & Reviews)
This step is needed so the fan doesn’t spray the liquid all over the place.

Step 4. Switch on the fan. Get it running for 1 minute.
Step 5. Remove the bag. The fan should be clean now.
You may also like: 9 Best Portable XM Radios (Comparison & Reviews)